
How to Fix a Leaky Faucet

Fixing a leaky faucet is a common household repair that can save water and prevent further damage. Here’s a step-by-step guide to help you fix a leaky faucet:
Note: Before starting any repairs, turn off the water supply to the faucet to avoid accidents and water wastage.
1. Gather necessary tools and materials:
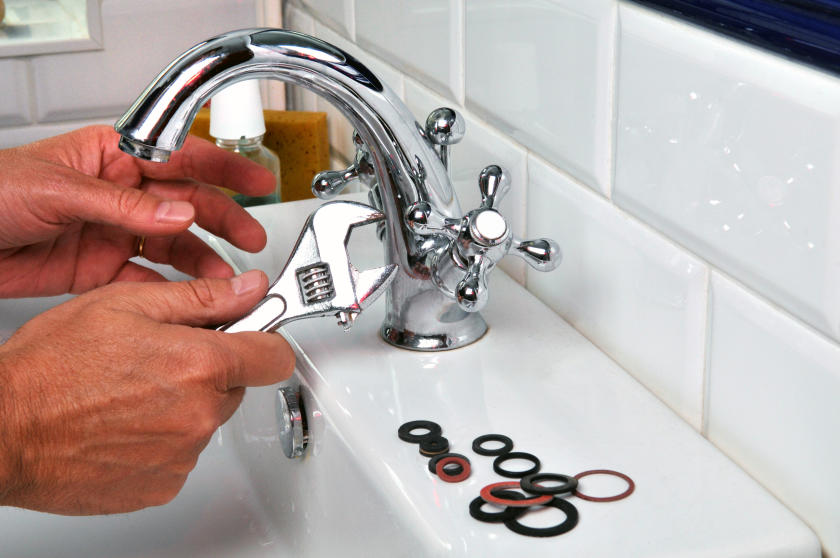
– Adjustable wrench
– Screwdriver (Phillips or flat-head, depending on your faucet)
– Replacement cartridge or washer (if needed)
– O-ring (if needed)
– Faucet repair kit (optional, contains various replacement parts)
2. Identify the type of faucet:
There are different types of faucets, such as ball-type, cartridge, ceramic disc, or compression faucets. Identify your faucet type to understand the specific repair process.
3. Remove the faucet handle:
– Use the screwdriver to remove the decorative cap or cover on the handle (if applicable).
– Unscrew the handle’s retaining screw and pull the handle off the faucet.
4. Access the cartridge or valve assembly:
– Depending on your faucet type, you might need to remove a decorative cap or bonnet to access the cartridge or valve assembly.
5. Inspect the cartridge or valve assembly:
– Examine the cartridge or valve assembly for any damage, cracks, or worn-out parts.
– If you have a cartridge or ceramic disc faucet, check for any debris or mineral buildup that might be causing the leak.
6. Replace damaged parts (if needed):
– If you find any damaged components, replace them with new ones from a faucet repair kit or individual parts available at hardware stores.
– For cartridge faucets, replace the cartridge; for ceramic disc faucets, replace the ceramic discs; for compression faucets, replace the rubber washers.
7. Check and replace O-rings (if needed):
– If your faucet has O-rings, check them for signs of wear or damage. Replace them if necessary.
8. Reassemble the faucet:
– Put the faucet handle back in place and secure it with the retaining screw.
– Reattach any decorative caps or bonnets you removed earlier.
9. Turn on the water supply:
– Gradually turn on the water supply and check if the leak is resolved.
– If the leak persists, double-check that all parts are correctly installed and consider seeking professional help if needed.
Remember that the exact repair process can vary depending on your faucet type and brand. If you’re unsure or encounter difficulties during the process, don’t hesitate to contact a professional plumber for assistance.


