
How to Fix a Leaky Faucet: A Step-by-Step Guide
How to Fix a Leaky Faucet A Step-by-Step Guide
Are you uninterested in the constant drip, drip, drip of a leaky tap? Not simplest is it worrying, but it is also wasting treasured water and driving up your water invoice. The true news is which you don’t want to be a plumbing professional to fix it. In this complete manual, we will walk you through the process of solving a leaky faucet, step by step.
1. Leaky Faucet:
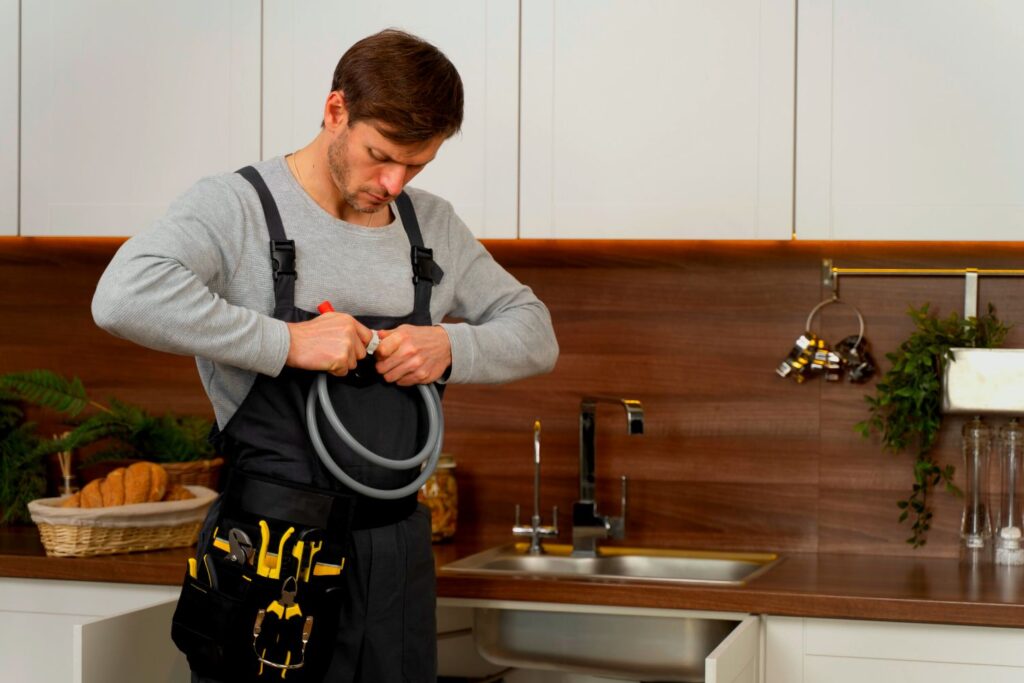
A leaky faucet isn’t always best a nuisance but also a waste of water and money. Fortunately, you do not want to call a plumber whenever you stumble upon this not unusual family trouble. With a few easy equipment and a touch expertise, you can restoration it your self. In this newsletter, we can guide you through the method of solving a leaky faucet, step by step. Say goodbye to that traumatic drip!
2. Gathering Your Tools:

Before you dive into solving your leaky tap, you may want to gather some essential tools. Don’t fear; you won’t need a whole toolbox for this task. Here’s what you’ll want:
- Adjustable wrench:
- Screwdrivers (flathead and Phillips)
- Replacement O-earrings or washers
- Plumber’s tape
- Towels or rags
3. Shutting Off the Water:
Safety first! Before you begin operating in your faucet, you have to flip off the water deliver. You can typically find the close-off valves below the sink. Turn them clockwise until the water is absolutely off. This step prevents any sudden surprises at the same time as you are running for your faucet.
4. Identifying the Faucet Type:
Faucets come in diverse kinds, and the approach for fixing them may additionally vary. The maximum commonplace sorts are compression, ball, cartridge, and ceramic-disk faucets. To identify your tap type, take a near observe it or consult the producer’s manual. Knowing the kind of faucet you have is essential for a successful repair.
5. Disassembling the Faucet:
Now that you’ve recognized your tap type, it is time to disassemble it. Start by way of casting off any decorative caps or handles. You may want to use a flathead screwdriver to carefully pry them off. Once the handles are off, use your wrench and screwdriver to take apart the tap piece via piece. Lay the parts out in the order you cast off them; this will make reassembly easier.
6. Replacing the O-Ring or Washer:

In maximum instances, a leaky tap is the result of a tired O-ring or washer. These small rubber components can go to pot over time, causing leaks. Carefully look at the O-ring or washer and update it with a brand new one in case you notice any symptoms of harm or put on. Apply plumber’s tape to make sure a tight seal while reassembling.
7. Reassembling the Faucet:
With the brand new O-ring or washer in region, it is time to reassemble your tap. Follow the reverse order of disassembly, starting with the closing piece you eliminated. Make positive everything suits snugly and securely. Tighten any screws or nuts as needed, but be careful no longer to overtighten, as this will damage the tap.
8. Checking for Leaks:
Now that your tap is again together, it is time to turn the water deliver returned on. Slowly open the close-off valves under the sink and test for any leaks. If you see water dripping from any part of the faucet, you could want to disassemble and reassemble it again, making sure the whole thing is properly seated and sealed.
9. Cleaning Up:
Congratulations! You’ve efficaciously fixed your leaky faucet. Now it is time to clean up the workspace. Use your towels or rags to wipe away any residual water and provide your faucet a final polish. Not handiest will your faucet appearance as proper as new, however it’s going to also characteristic with out that traumatic drip.
Conclusion:
Fixing a leaky tap is a DIY project that absolutely everyone can tackle with the proper gear and a touch patience. By following the steps mentioned in this guide, you can keep money on plumbing offerings and make a contribution to water conservation. Remember, the secret’s to perceive the faucet kind, replace the O-ring or washing machine, and reassemble everything cautiously. Happy solving!
Frequently Asked Questions:
1. Why is my faucet leaking?
Faucets can leak due to tired O-earrings or washers. Over time, those components degrade, causing leaks. Replacing them can clear up the problem.
2. Can I use any O-ring or washer to fix my tap?
It’s crucial to apply the best length and form of O-ring or washer on your precise tap model. Check the manufacturer’s guide or consult a hardware keep expert for steering.
3. How lengthy does it take to repair a leaky tap?
The time required to restore a leaky faucet depends for your revel in and the complexity of the faucet type. It can take everywhere from 30 minutes to more than one hours.
4. Do I need to show off the water deliver to restoration a leaky faucet?
Yes, it is critical to turn off the water supply earlier than attempting any tap repair. This guarantees your protection and prevents water harm at some point of the system.
5. What if I cannot identify my tap kind?
If you’re uncertain approximately your faucet kind, recall in search of steerage from a expert plumber or contacting the tap producer for help.
More Blogs to Read Go to Informer Global.


